
Basic Blockbench Usage
1. About Blockbench
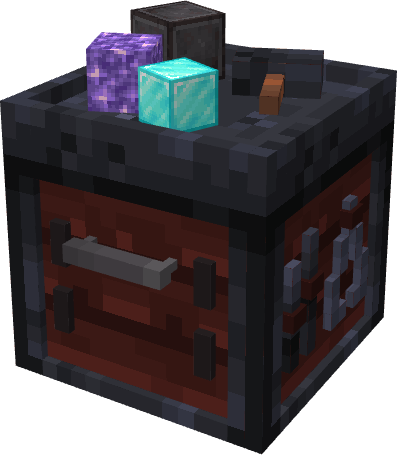
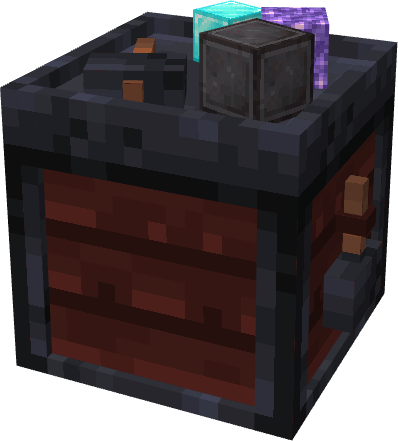
- is one of the most popular modeling tools in Minecraft modding. Most custom-looking blocks you see are made with Blockbench (though some advanced models use format), for example this smithing table:
- File paths
- Model files are usually stored in
assets/${modid}/models. - Like the
texturesfolder,modelsis usually split intoblockanditem. - Put block models in
blockand item models initem. - Make sure the exported model file is in
jsonformat. - Textures go in
assets/${modid}/textures; similarly, blocks inblock, items initem. If possible, keep models and textures under the same${modid}.
- Model files are usually stored in
2. Usage
(This tutorial only covers the basics. For advanced workflows, check other guides.)
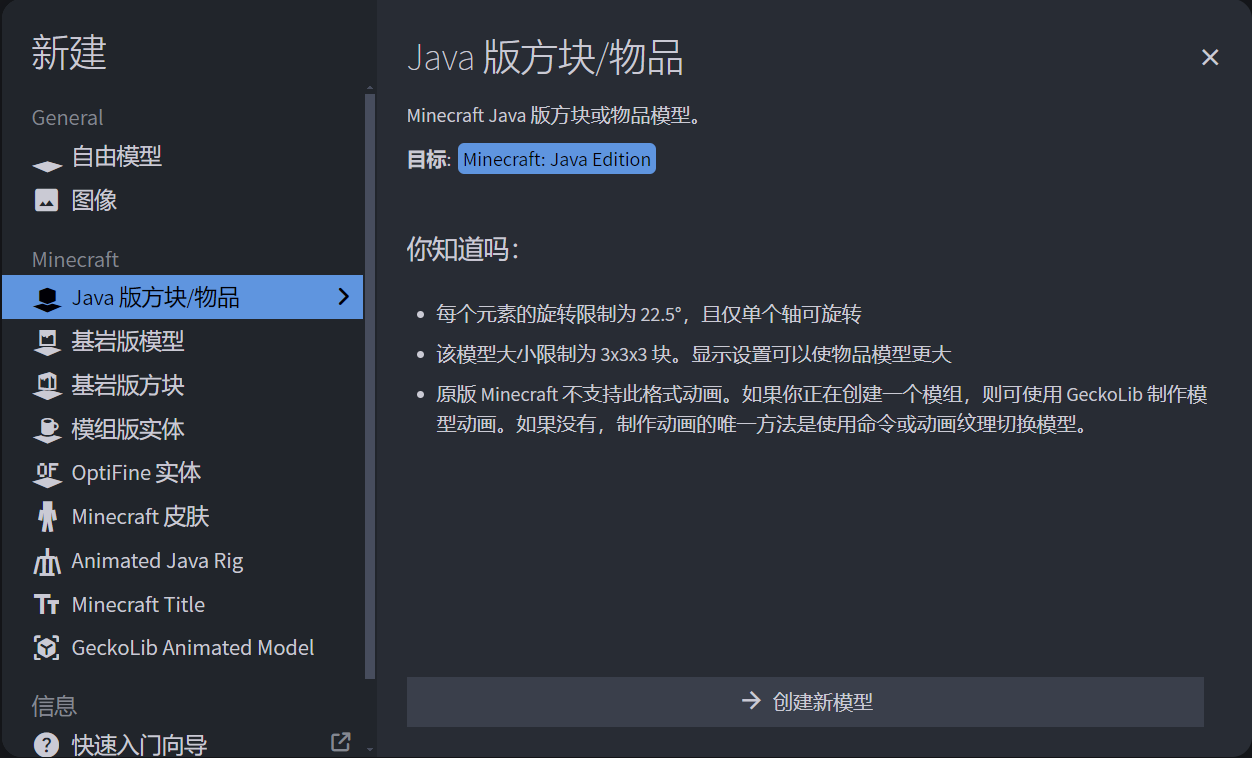
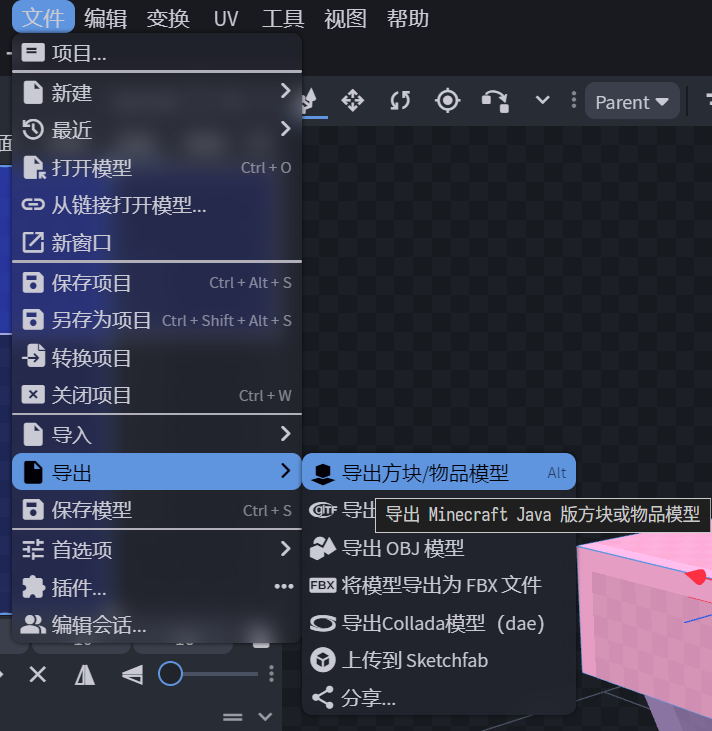
1. Create a Project
- When selecting a model preset, choose the provided Java Edition type. It exports
json, which is exactly what Minecraft needs.
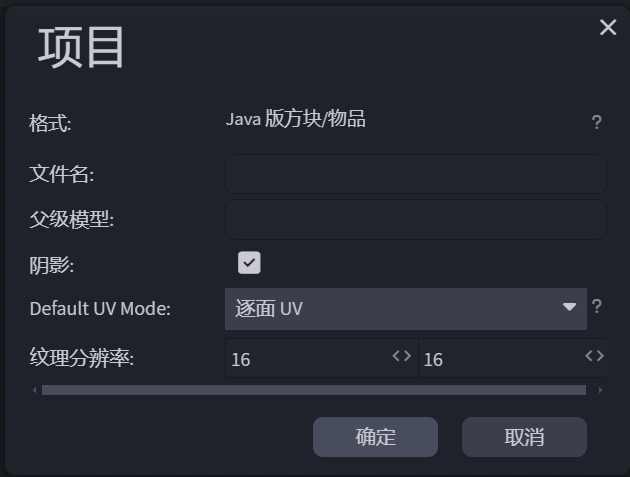
- After selecting the type, a popup appears. Set the filename to your item/block ID and leave the rest as default.
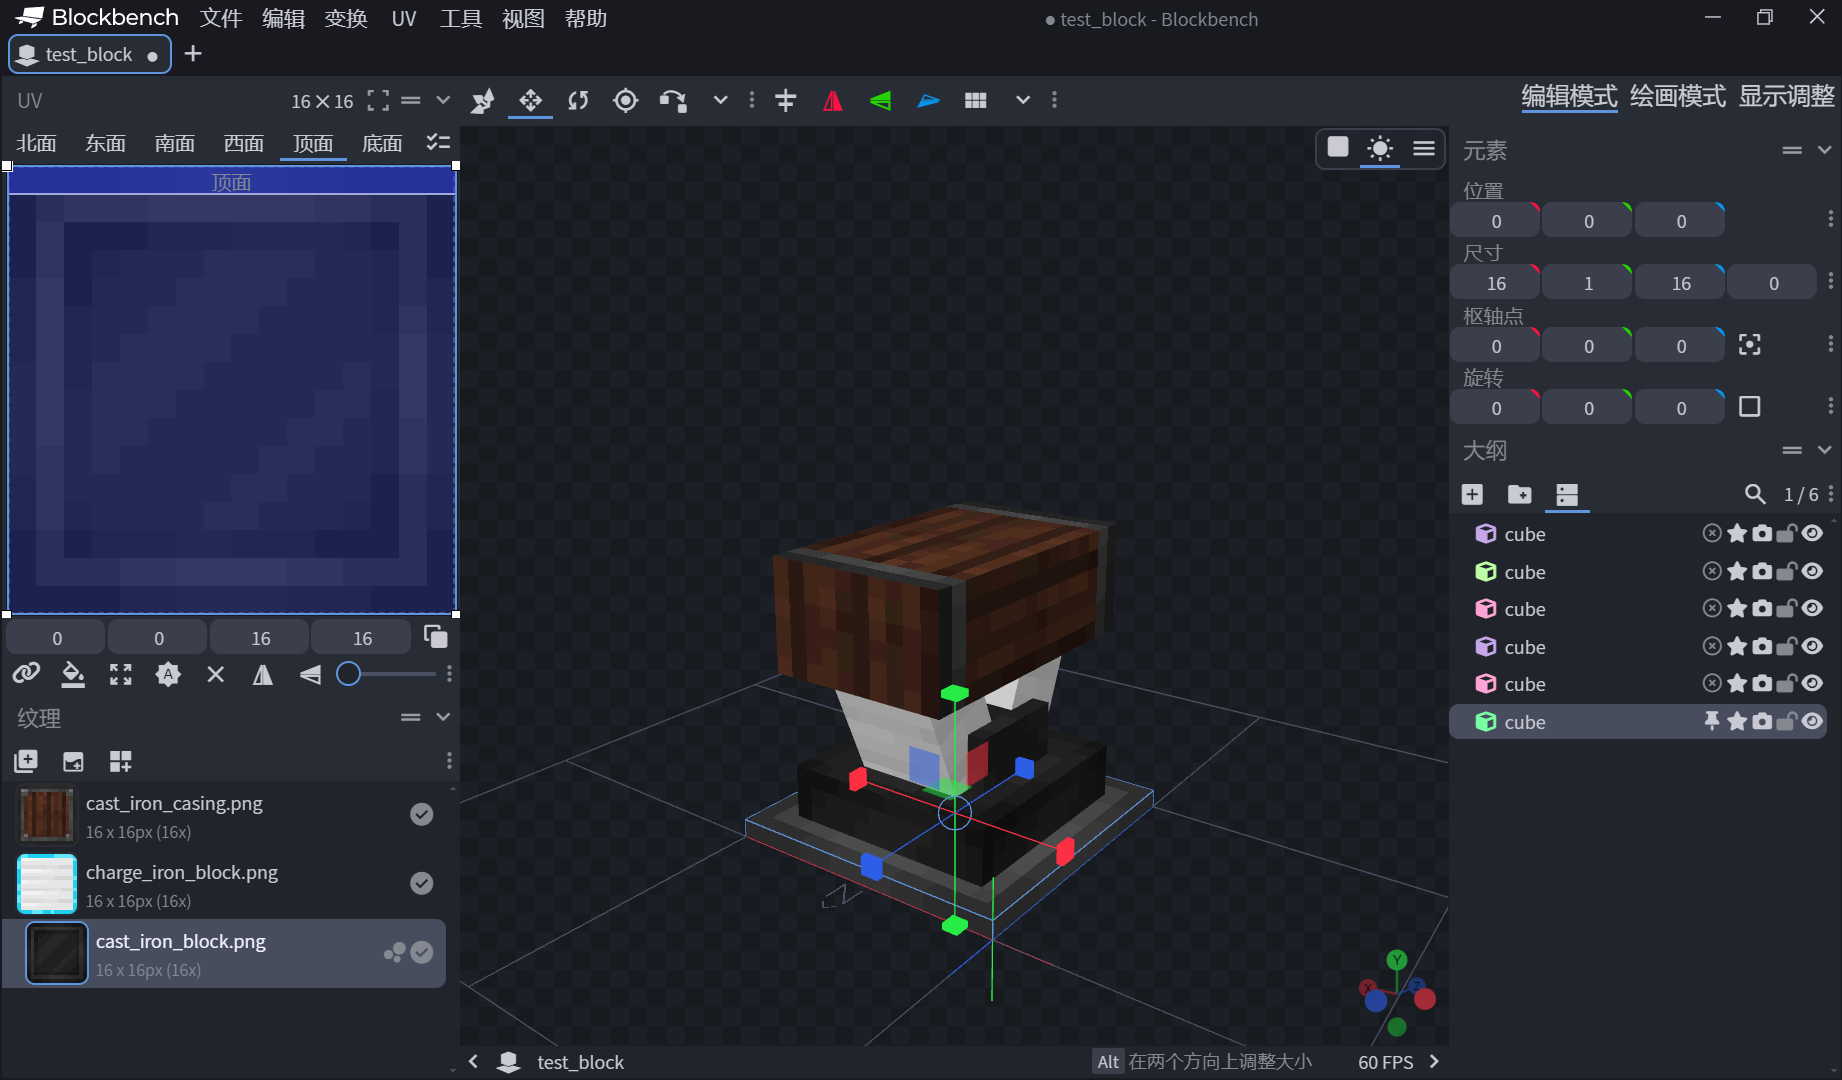
2. Create Your First Model
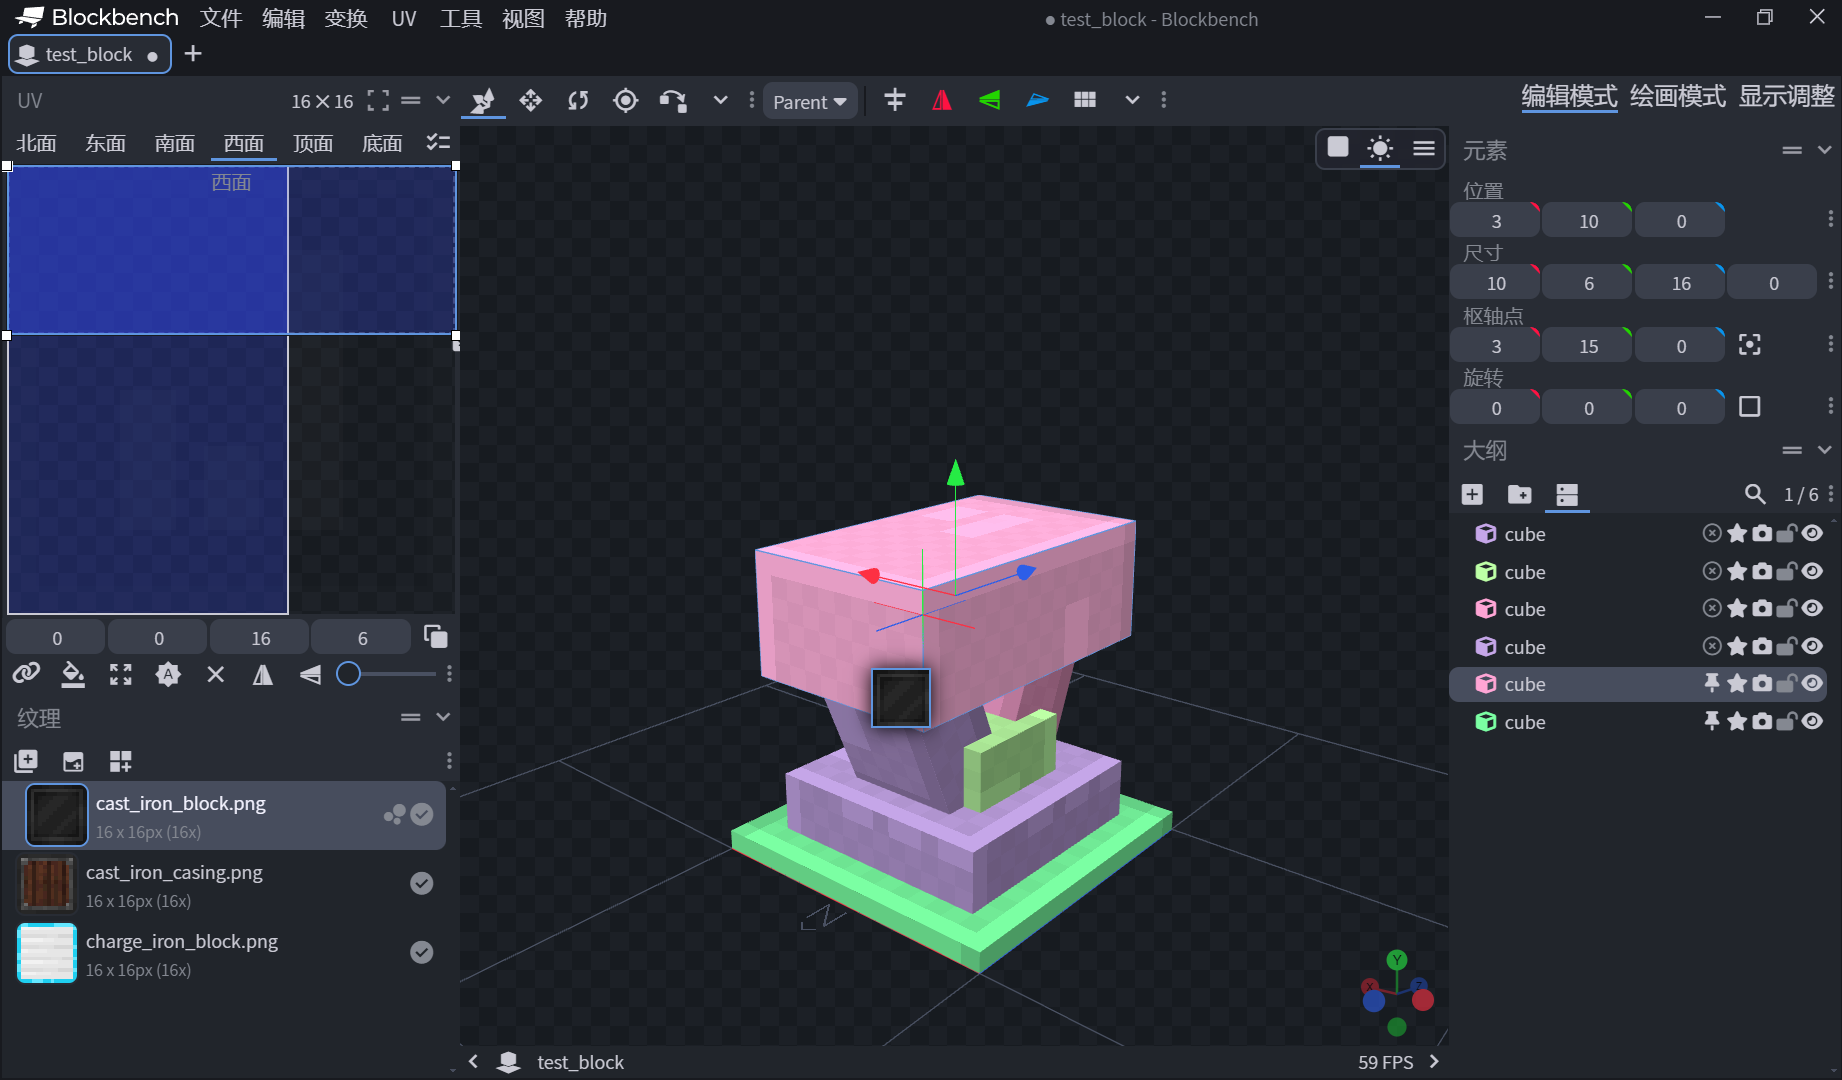
- After entering the workspace, you will see the UI below. This image highlights the most commonly used buttons (a cube here means a model element).
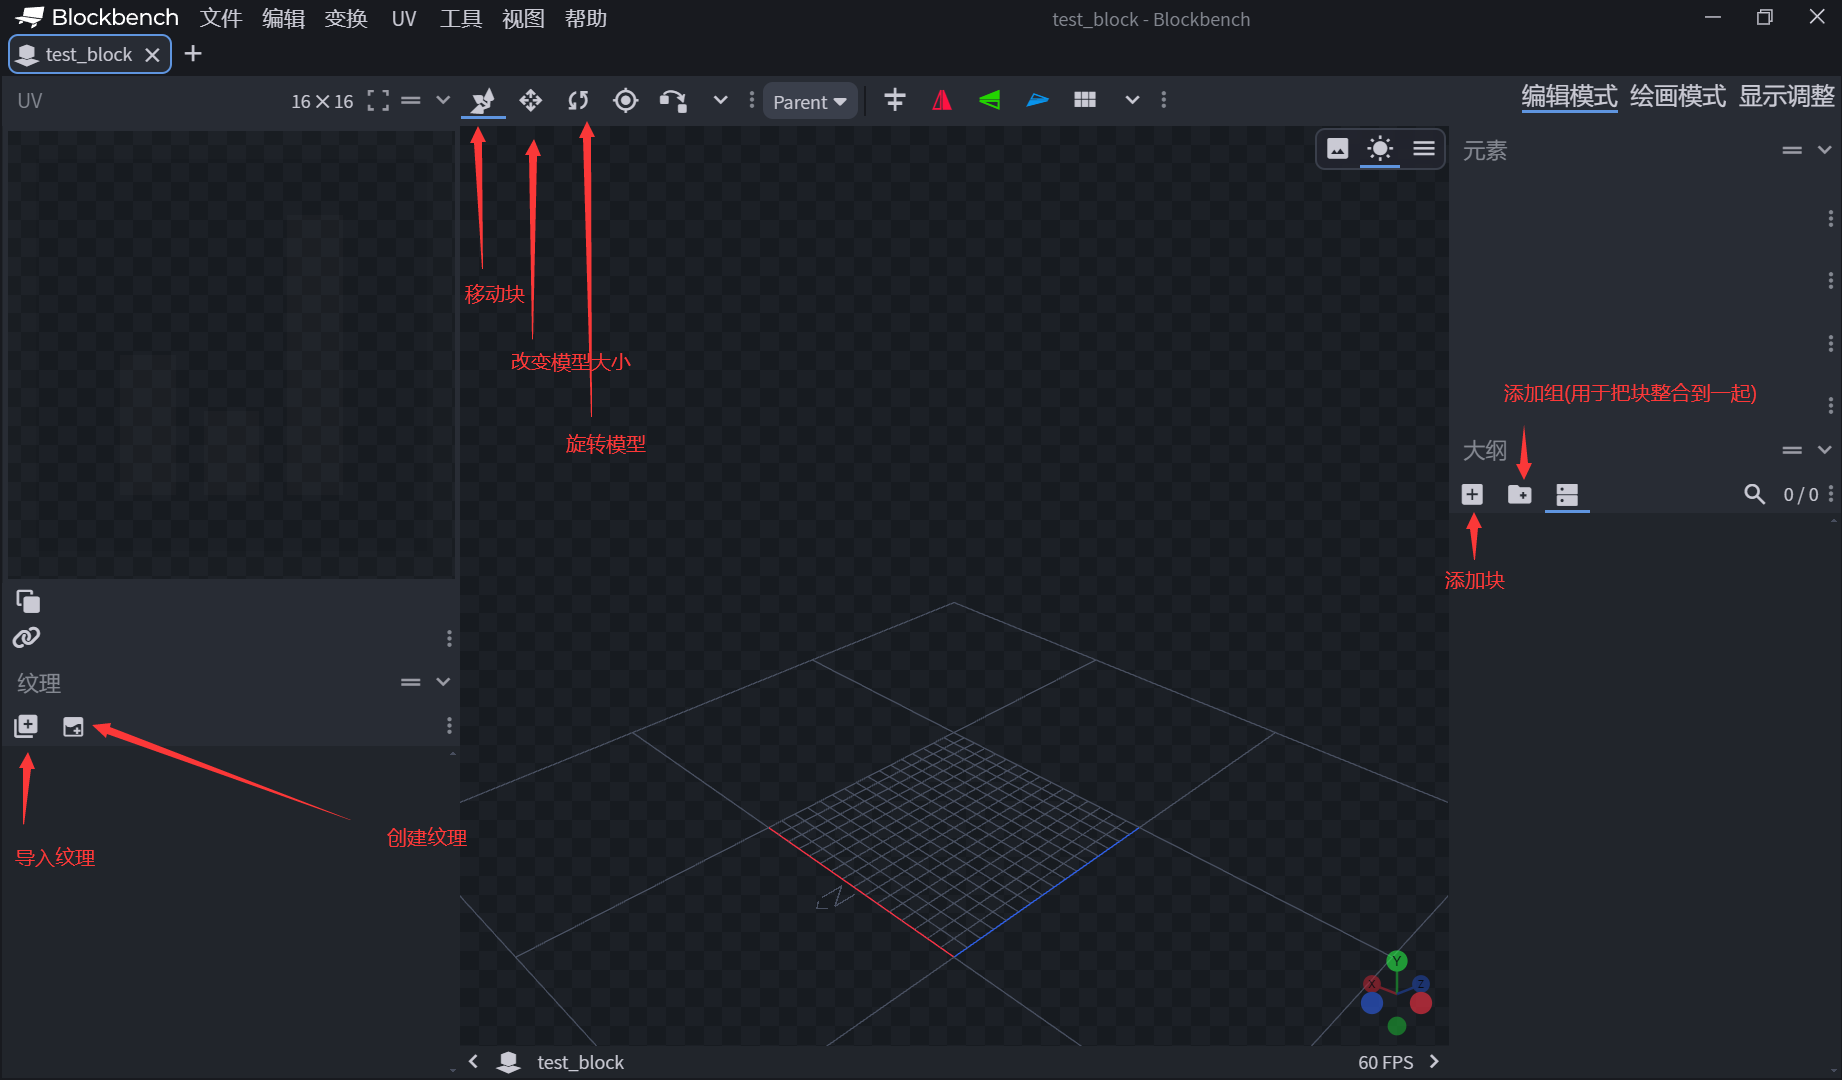
- Create any quick test model first.
- Then save it to
assets/${modid}/models/blockas mentioned above.
Write code...
js
StartupEvents.registry("block", (event) => {
	// The block ID should match the model filename
    event.create("test_block")
})
3. Set Textures for the Model
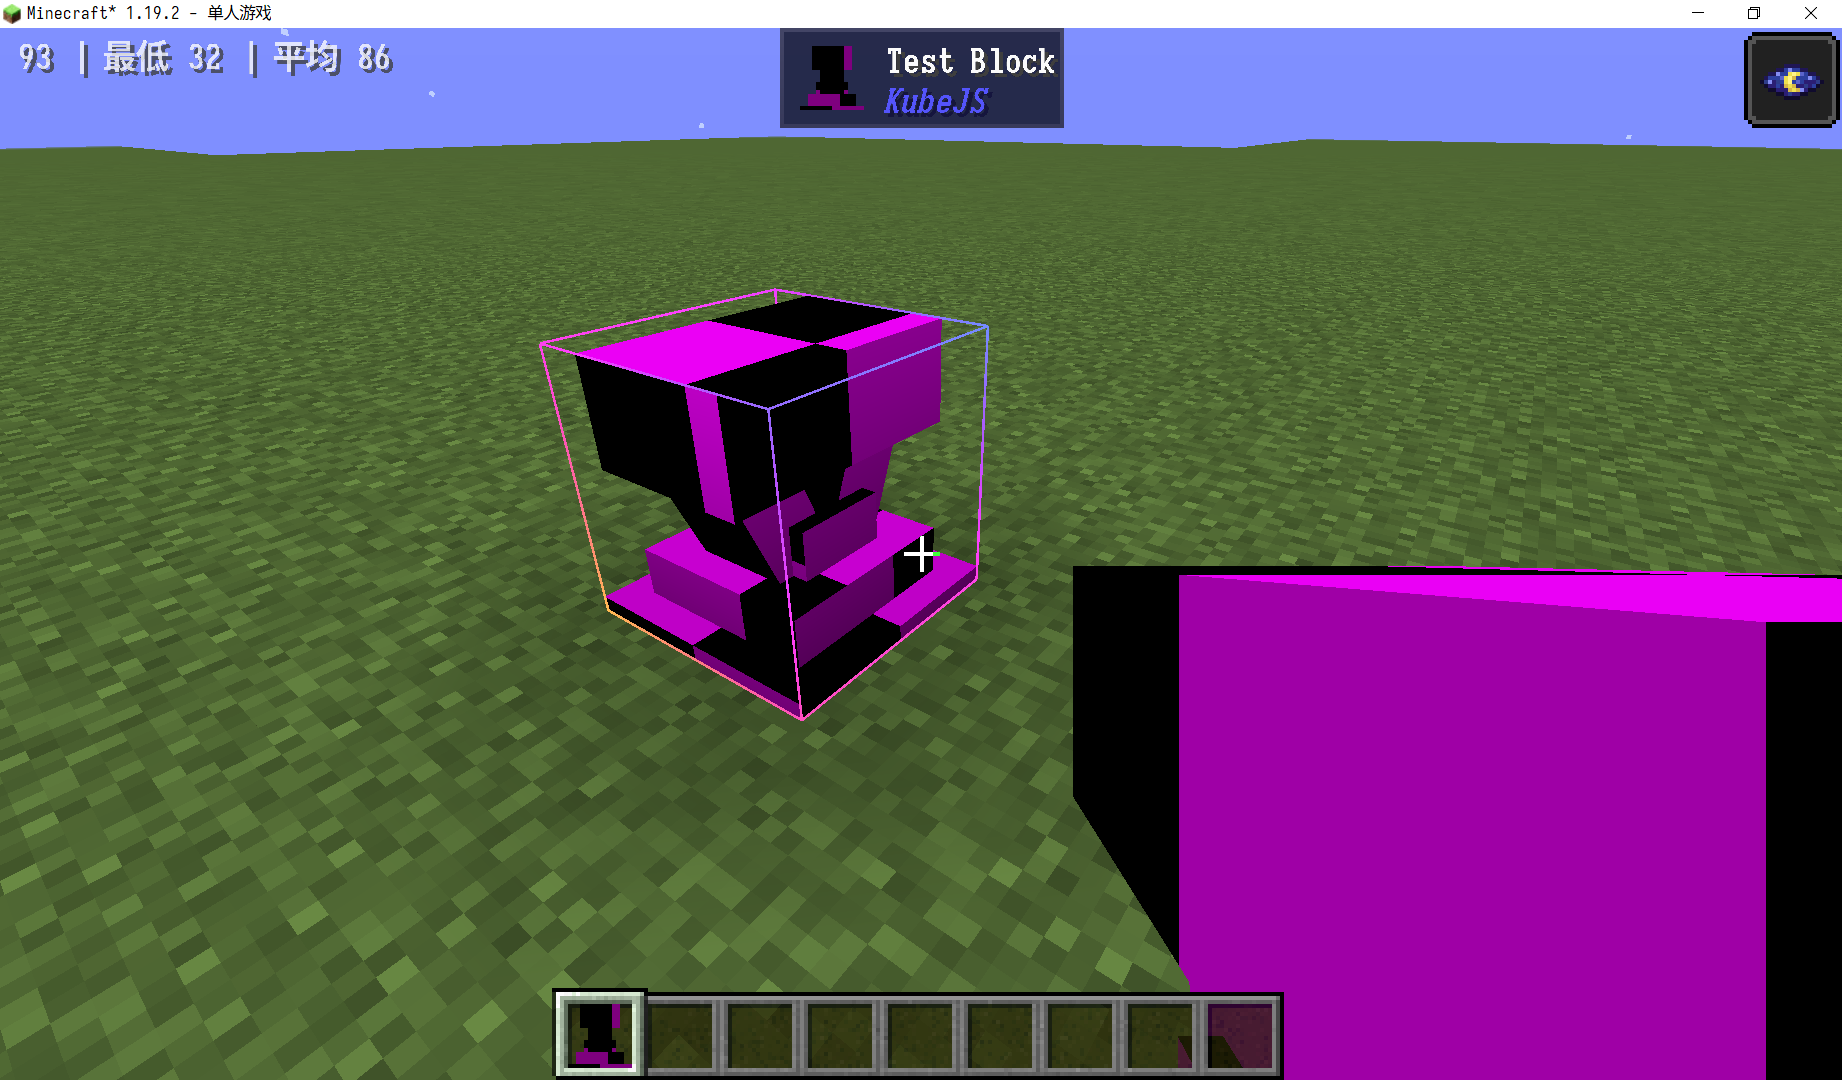
- If you register it in-game now, you will likely get the classic purple-black missing texture, and the in-hand/inventory transform will also look wrong.
- First, fix textures. Put texture files in
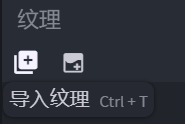
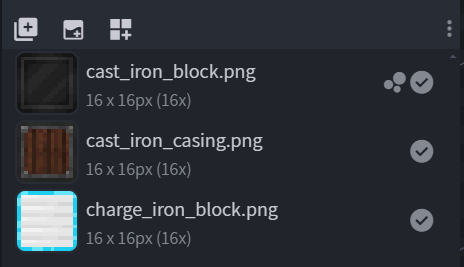
assets/${modid}/textures/block, then in Blockbench click import texture at the lower-left (you can import multiple textures), or create one yourself (not covered here).
- After importing, apply textures to the model. There are two ways:
- Drag a texture directly onto the model.
- Right-click the model and choose
Select Texture.

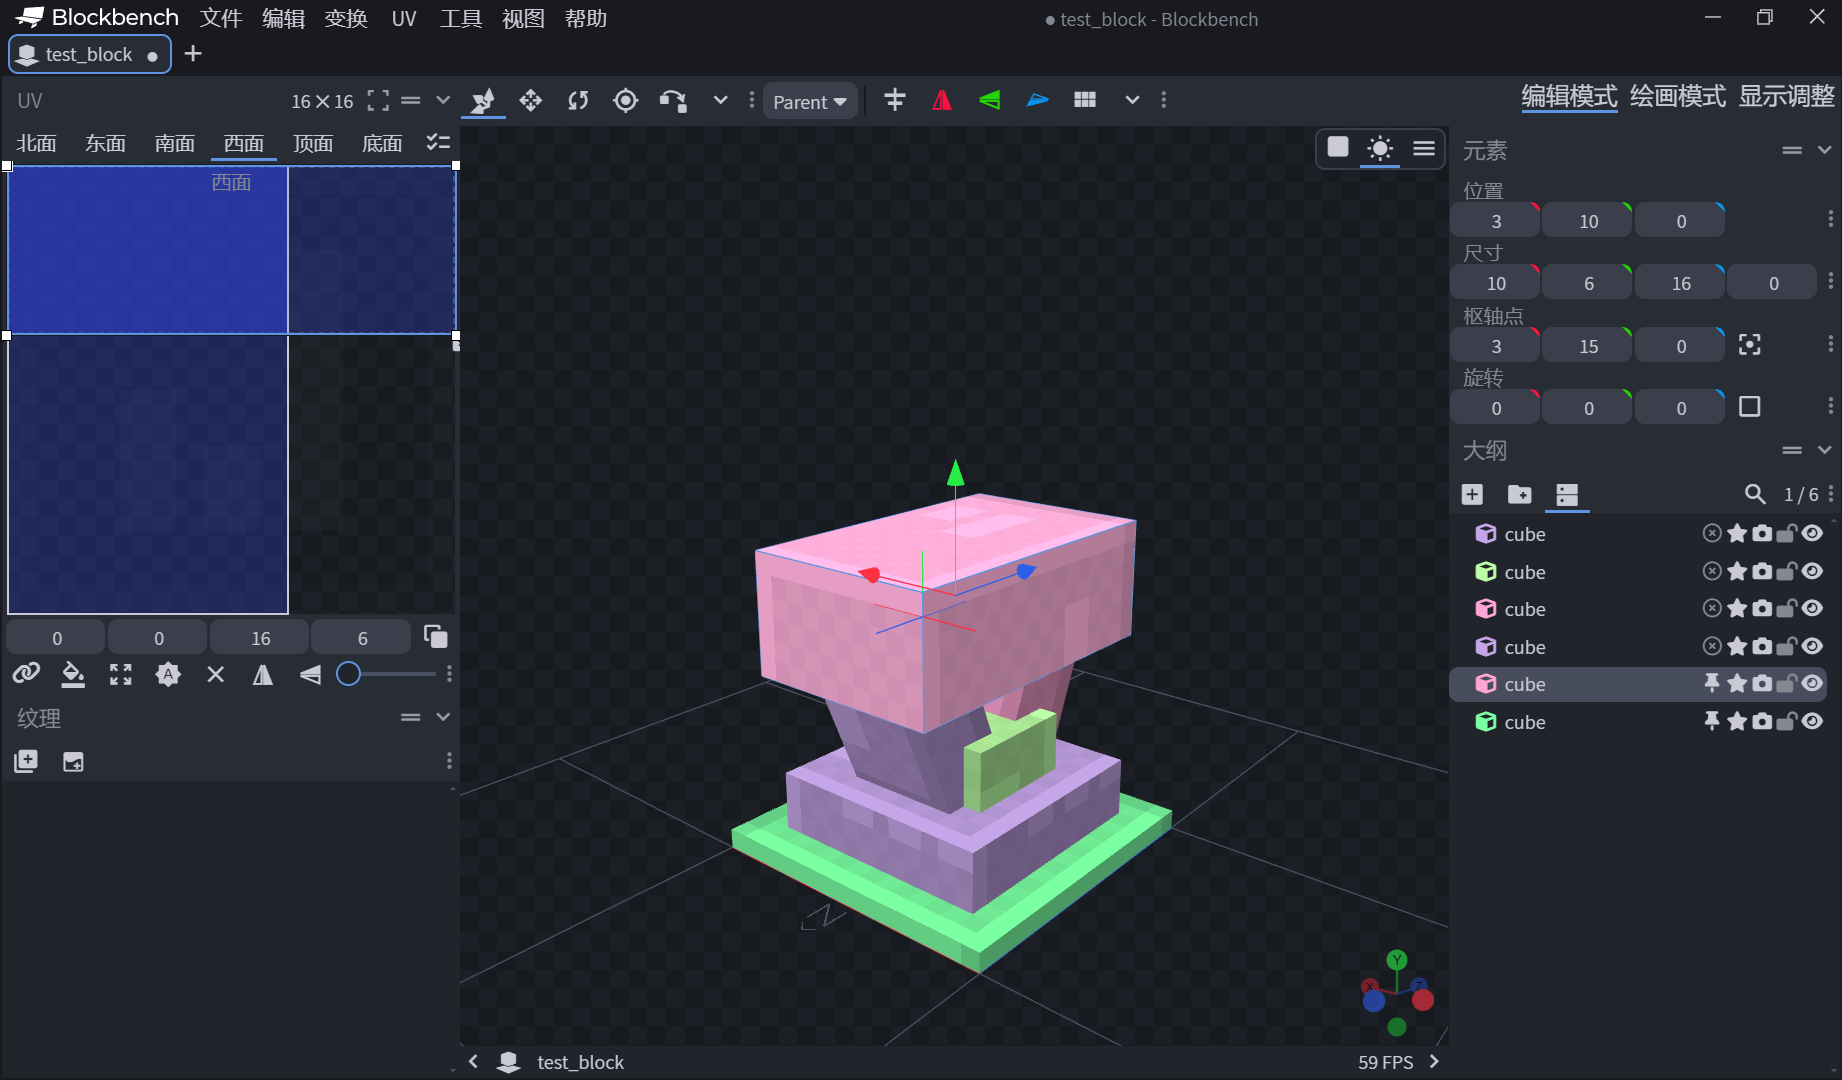
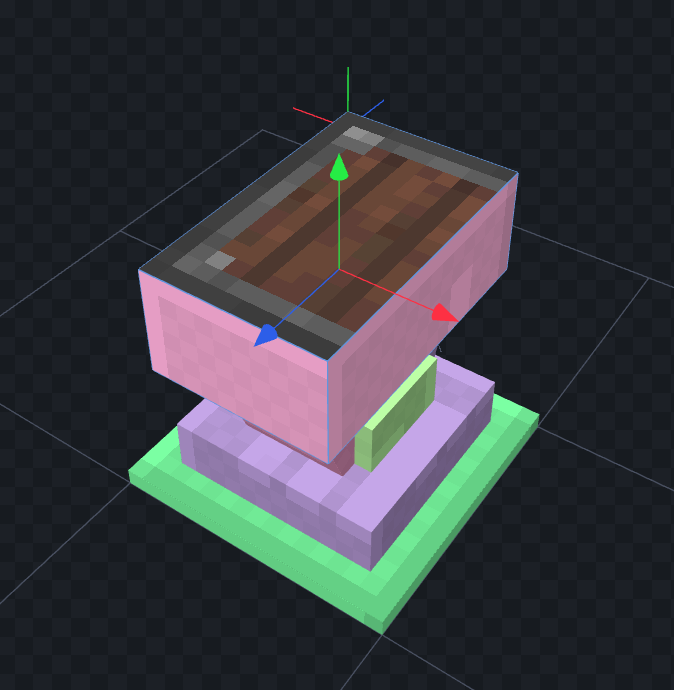
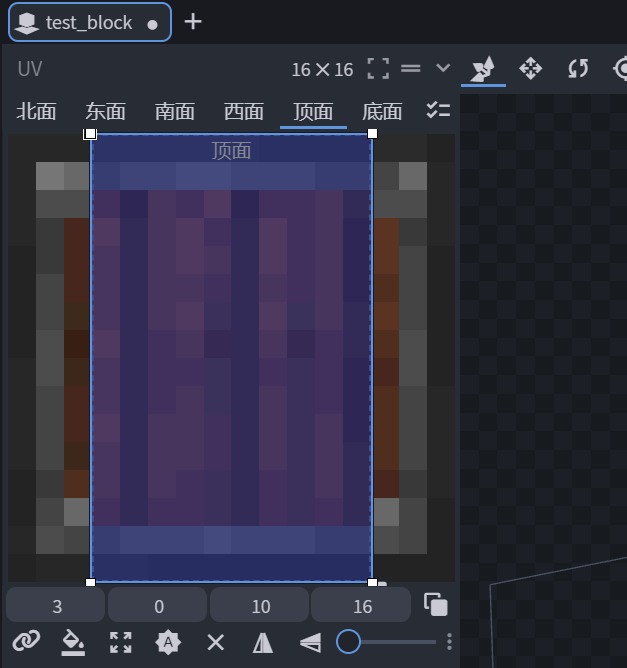
- Sometimes you may get strange UV results after applying textures:
- Use the UV editor in the top-left. Selecting a region there updates the mapped area on the model in real time.
- As for the row of buttons below, try them out yourself and see what each does.
- A model has 6 faces, each face can use different texture regions, and each model can use different textures. After finishing UV/textures, save and start the game (or use
F3+Tif the game is already running).
 Launching the game...
 - If the texture loads correctly, you did it.
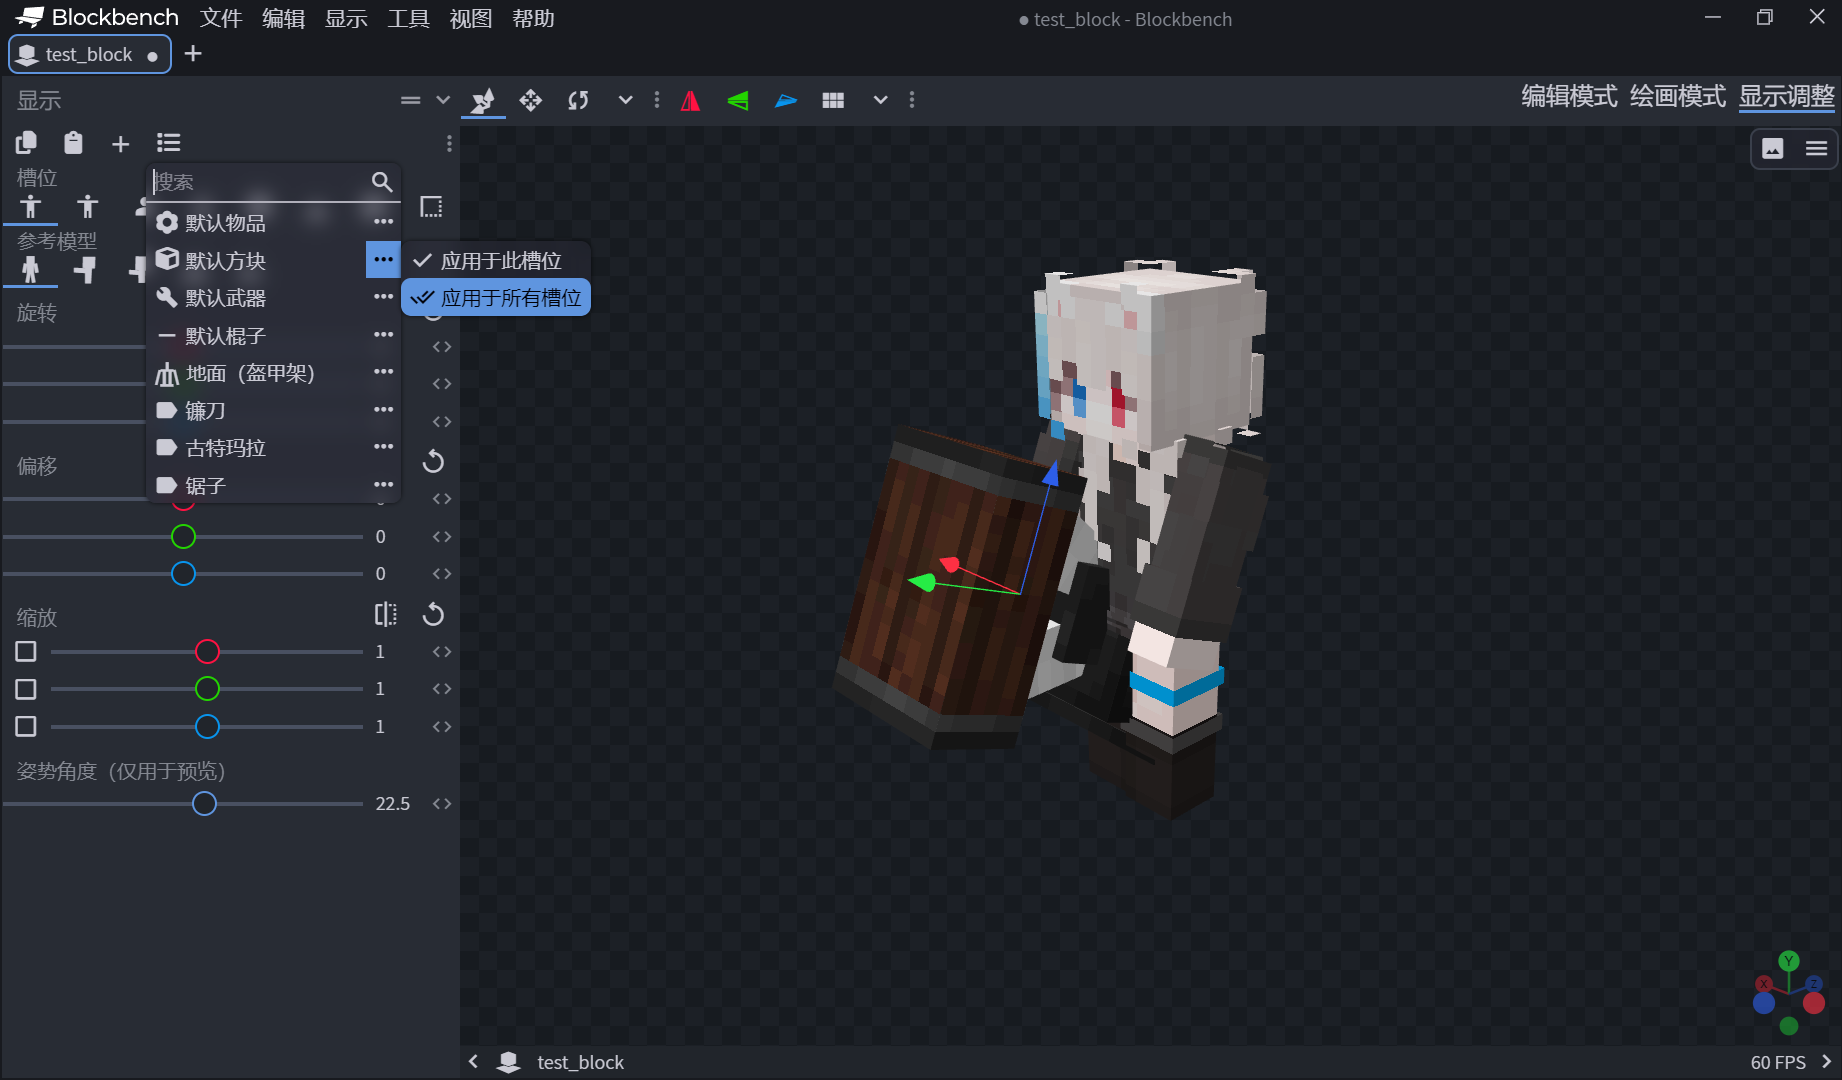
- Inventory Model
- You will notice the inventory and in-hand model can still look odd. Open Display Settings (top-right in workspace), click the three-line menu at the top-left, choose
Apply Preset -> Default Block -> Apply to all slots, then save (or tune it manually).
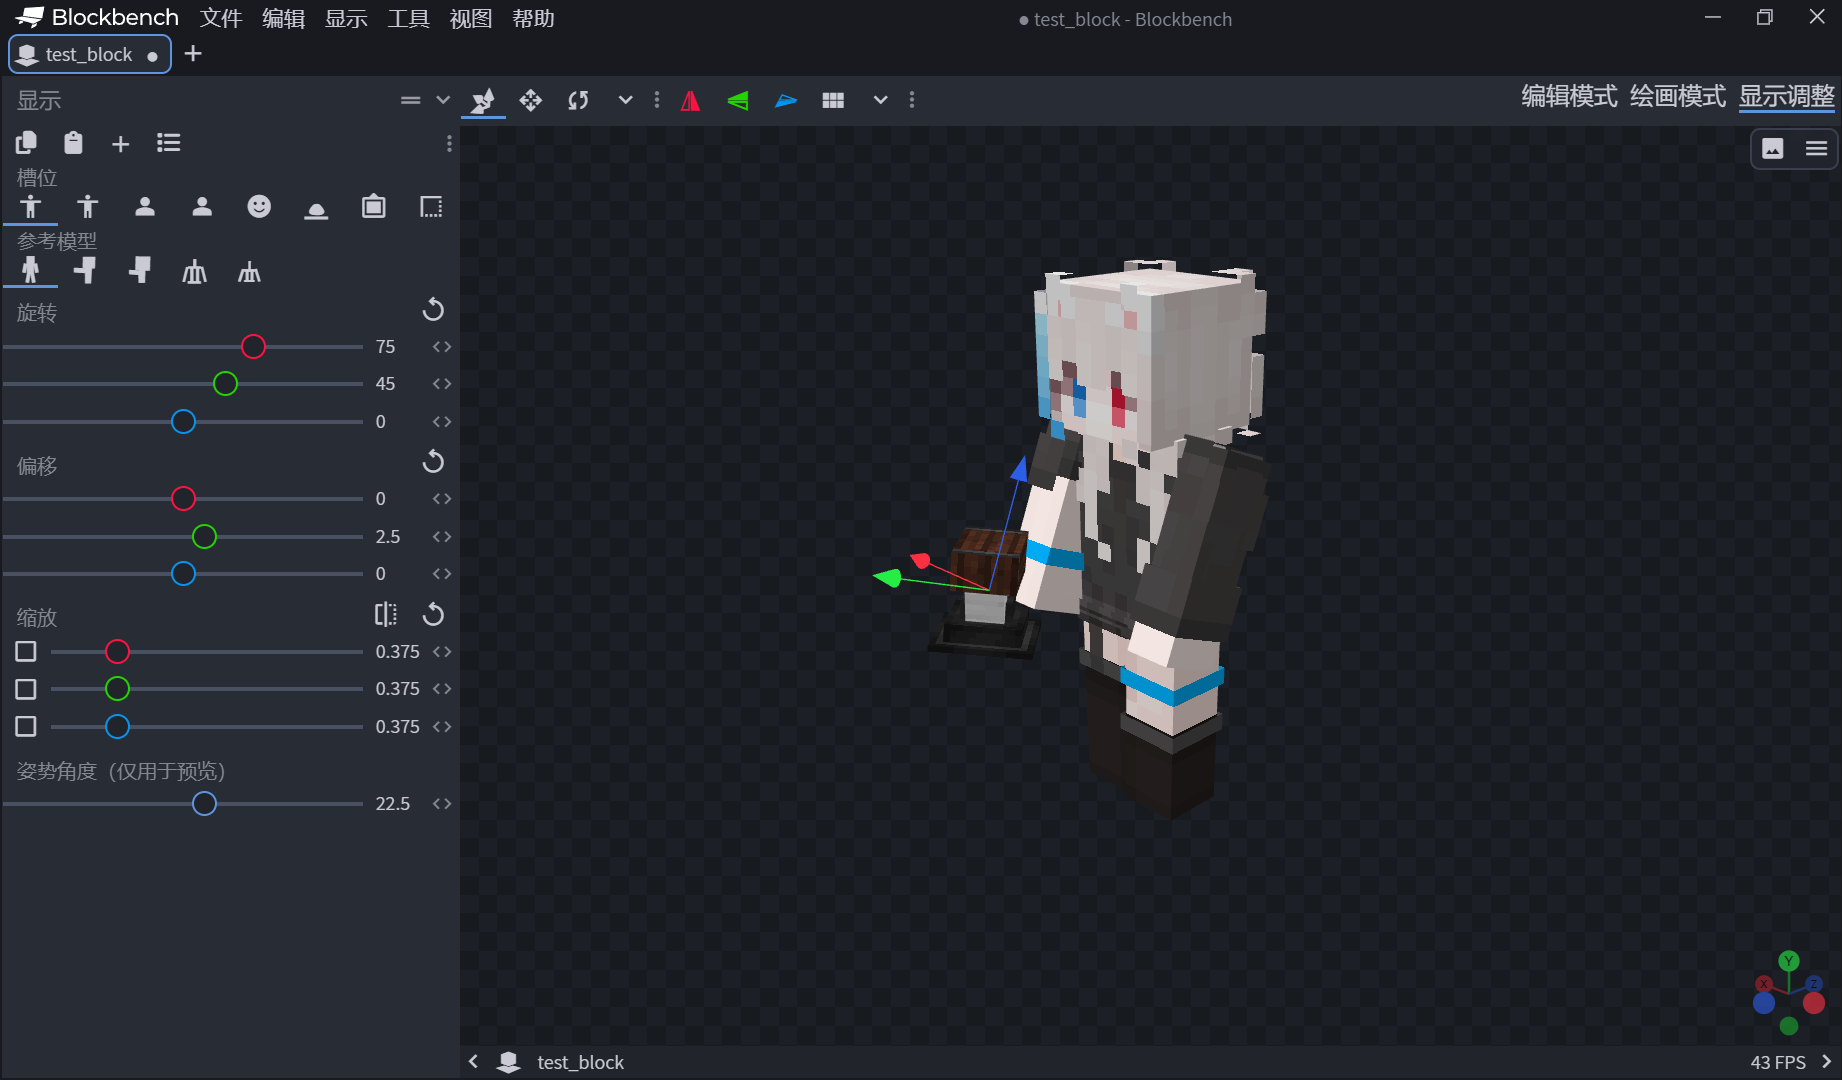
- Reload with
F3+Tlike before.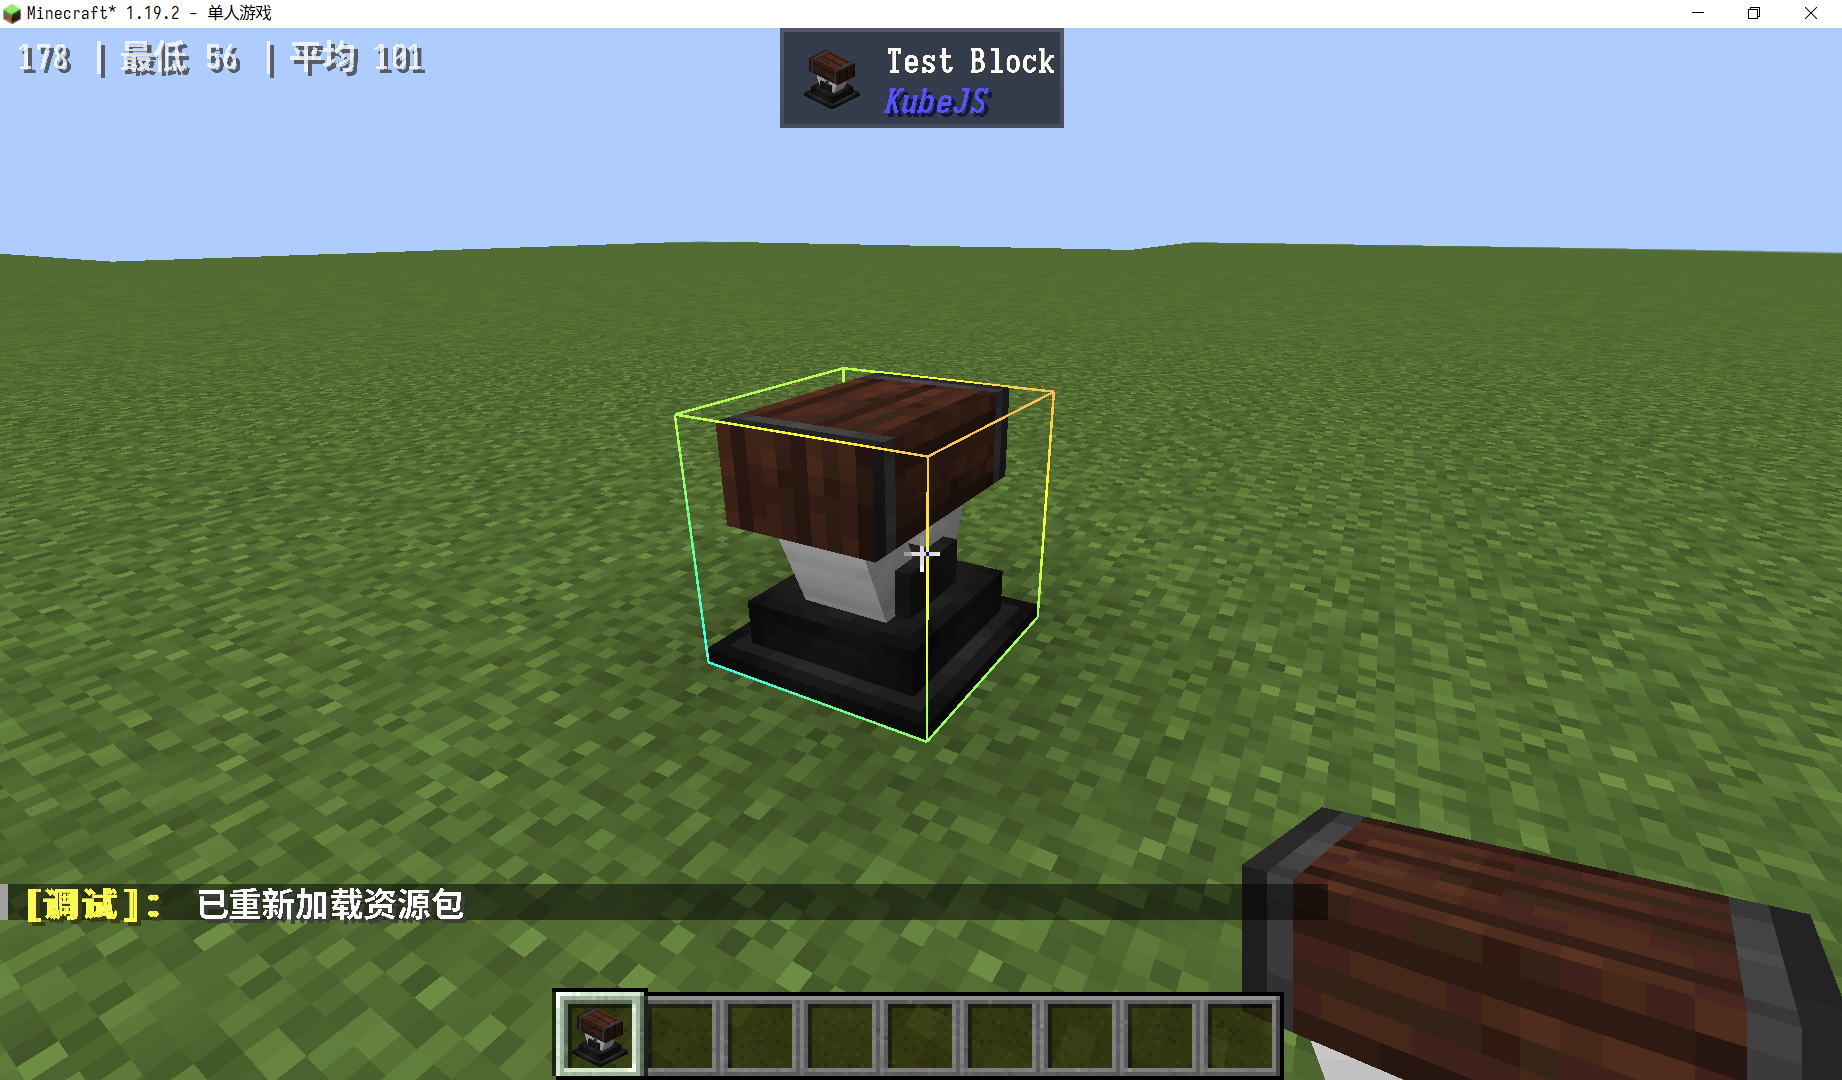
- Now the inventory and in-hand model should look like a normal block.
- If block break particles are still purple-black, right-click the texture and choose
Use as Particle Texture.
- Drag a texture directly onto the model.